Breading & Coating: Preventing Coatings from Falling Off
Achieving a crispy, evenly coated exterior on your fried or baked dishes is an art that can elevate your home cooking to professional levels. The secret lies in understanding the science of breading and coating, and mastering a few key techniques to ensure that your coatings stick and stay put. This method is crucial for dishes like chicken parmesan, fried seafood, or even veggie cutlets. By creating a strong bond between the food and the coating, you can enjoy a satisfying crunch with every bite. First, let’s talk about the importance of surface tension. For the coating to adhere properly, the surface of your food must be slightly tacky, which is why a wet layer is crucial. Next, we’ll explore the role of each component in the classic three-step breading process: flour, egg, and breadcrumbs. Flour creates a surface for the egg to cling to, while the egg acts as a binding agent for the breadcrumbs. Finally, we’ll delve into the drying phase, which tightens proteins and helps the coating stick even better. Understanding these steps will transform your breaded dishes from soggy disasters to crispy masterpieces.
Notes
The science behind successful breading lies in creating layers that bond effectively. The proteins in the egg coagulate when heated, binding the breadcrumbs to the food. Allowing the coated food to rest in the fridge firms up the coating, preventing it from sliding off during cooking. Common mistakes include using wet food, which can lead to soggy coatings, and overcrowding the pan, which lowers the oil temperature and results in greasy food. For safety, always handle hot oil with care, and use a thermometer to maintain the correct frying temperature. To make ahead, bread and refrigerate coated items for up to 24 hours before cooking. Store leftovers in an airtight container in the fridge for up to 3 days, reheating in a low oven to preserve crispiness.
Steps
- 1 Pat your food dry with paper towels to remove excess moisture.
- 2 Season the flour with salt and pepper, then lightly coat the food in the flour.
- 3 Dip the floured food into beaten eggs, ensuring full coverage.
- 4 Press the food into a layer of breadcrumbs, panko, or crushed cereal, ensuring an even coat.
- 5 For extra adherence, let the coated food rest in the refrigerator for 30 minutes.
- 6 Preheat your oven or frying oil to the correct temperature, typically 350°F for baking and 375°F for frying.
- 7 Bake or fry the coated food until golden brown, flipping halfway through cooking to ensure even browning.
- 8 Drain fried food on a wire rack over paper towels to remove excess oil.
- 9 For baked items, ensure they are fully cooked through by checking internal temperature with a meat thermometer if applicable.
Ingredients to explore
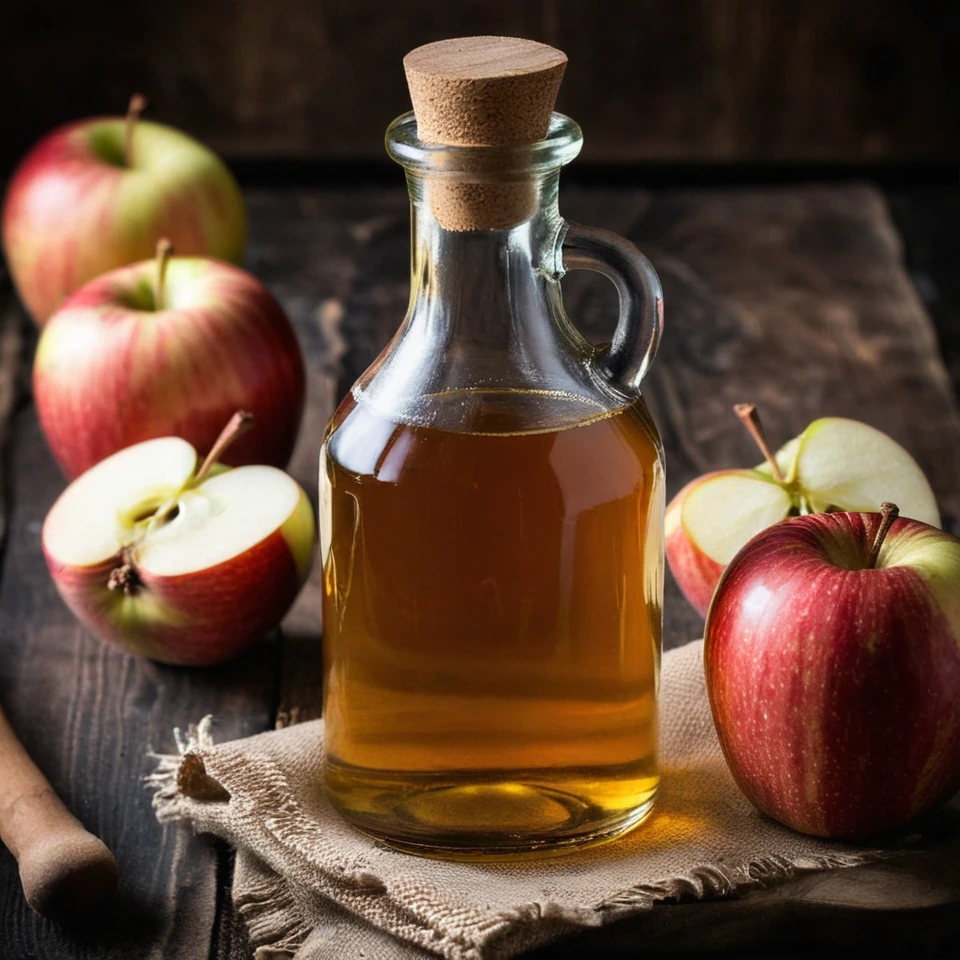
Apple Cider Vinegar
Apple cider vinegar is a type of vinegar made through the fermentation of apple cider, resulting in a tangy, slightly sweet liquid with a pale to medium amber color.
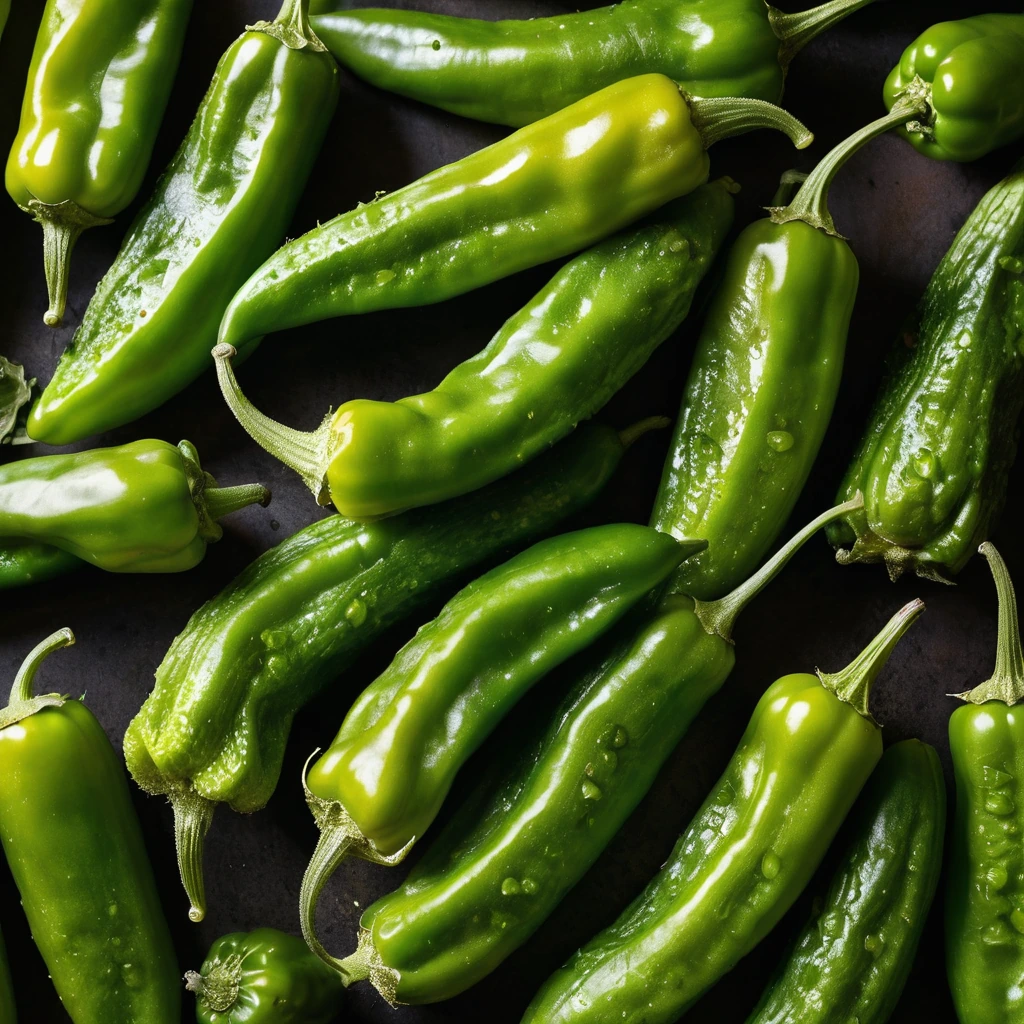
Anaheim Peppers
Anaheim peppers are a mild chili pepper variety named after Anaheim, California, where they were first cultivated commercially. Originating from the New Mexico region, these peppers are celebrated for their versatility and gentle heat. They possess a flavor that is mildly sweet with a subtle tang, and a pleasant vegetal note reminiscent of green bell peppers, but with a hint of spice. Their texture is firm and crisp when fresh, becoming tender and slightly smoky when roasted or cooked. In cooking, Anaheim peppers behave well across a range of techniques, from grilling and roasting to stuffing and sautéing, contributing a nuanced depth without overwhelming other ingredients with heat.
Recipes to try
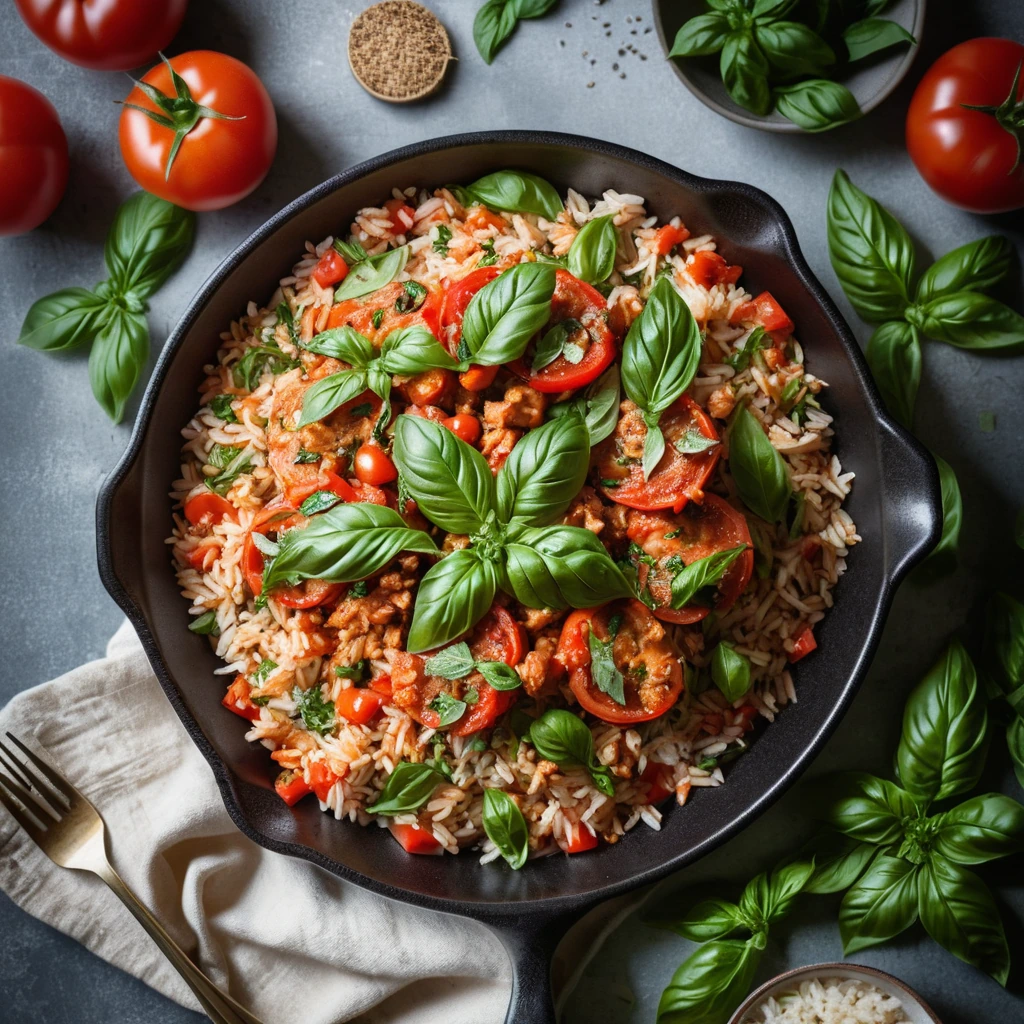
Tomato Basil Chicken and Rice Skillet
Golden chicken and fluffy rice simmered in a vibrant tomato-basil sauce, bursting with fresh garden flavors.
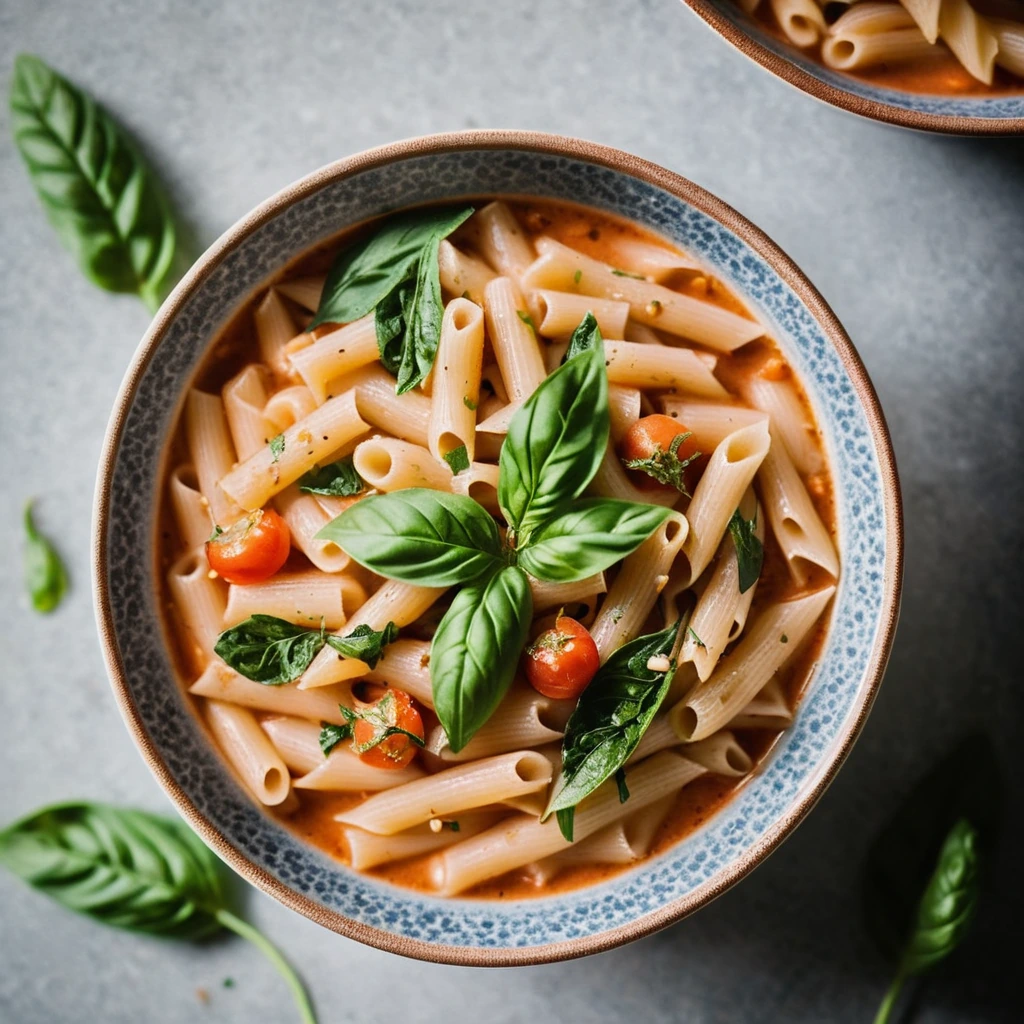
One-Pot Tuscan White Bean and Pasta Stew
Warm up with this hearty stew where tender pasta mingles with creamy cannellini beans in a rich, garlicky tomato broth.