Pan Work: Avoiding Sticking in Stainless Steel
Mastering the art of cooking in stainless steel pans can elevate your culinary skills, but sticking food is a common hurdle. The secret lies in understanding the science of heat transfer and the Maillard reaction. Stainless steel is a poor heat conductor, but with the right techniques, you can achieve a perfect sear without food clinging to the pan's surface. Proper preheating ensures an even cooking surface, while adequate oil creates a barrier between the food and the metal. Maintaining the correct cooking temperature is crucial—too hot, and sugars in your food will burn; too cool, and proteins will seize. Seasoned home cooks know that patience is key; rushing the process is a surefire way to end up with stuck-on messes. Additionally, knowing when to flip your food is essential—look for that beautiful golden-brown crust as your cue. This guide will walk you through the nuanced dance of pan work, ensuring your stainless steel becomes a reliable ally in the kitchen rather than a source of frustration.
Notes
The science behind non-sticking stainless steel cooking is rooted in the pan's heat management and the oil's role as a thermal barrier. When stainless steel is heated properly, its surface becomes microscopically smooth, preventing food from seizing. A common mistake is adding food to a pan that isn't hot enough, leading to sticking and tearing. Always preheat your pan sufficiently and use enough oil to create a protective layer. Safety is paramount; never leave a hot pan unattended, and use oven mitts when handling it. To make ahead, cook your proteins and vegetables separately, then store them in airtight containers in the refrigerator for up to 3 days. Reheat gently to preserve texture.
Steps
- 1 Select a high-quality stainless steel pan with a thick base for even heat distribution.
- 2 Place the pan on the stovetop over medium-high heat and let it preheat for 3-5 minutes.
- 3 Add 2 tablespoons of neutral oil with a high smoke point, like canola or vegetable oil.
- 4 Heat the oil until it shimmers but does not smoke, indicating it's ready for cooking.
- 5 Pat your protein dry with paper towels to remove excess moisture.
- 6 Place the protein in the pan gently, ensuring not to overcrowd it.
- 7 Resist the urge to move the protein for at least 2-3 minutes or until a golden-brown crust forms.
- 8 Use a thin metal spatula to check if the protein releases easily; if it does, it's ready to flip.
- 9 Flip the protein and repeat the process on the other side.
- 10 For vegetables, add them to the pan in a single layer and cook undisturbed until they brown.
- 11 Deglaze the pan with a splash of broth or wine after cooking to loosen any flavorful browned bits.
- 12 Adjust heat as needed to maintain a consistent cooking temperature throughout the process.
Ingredients to explore
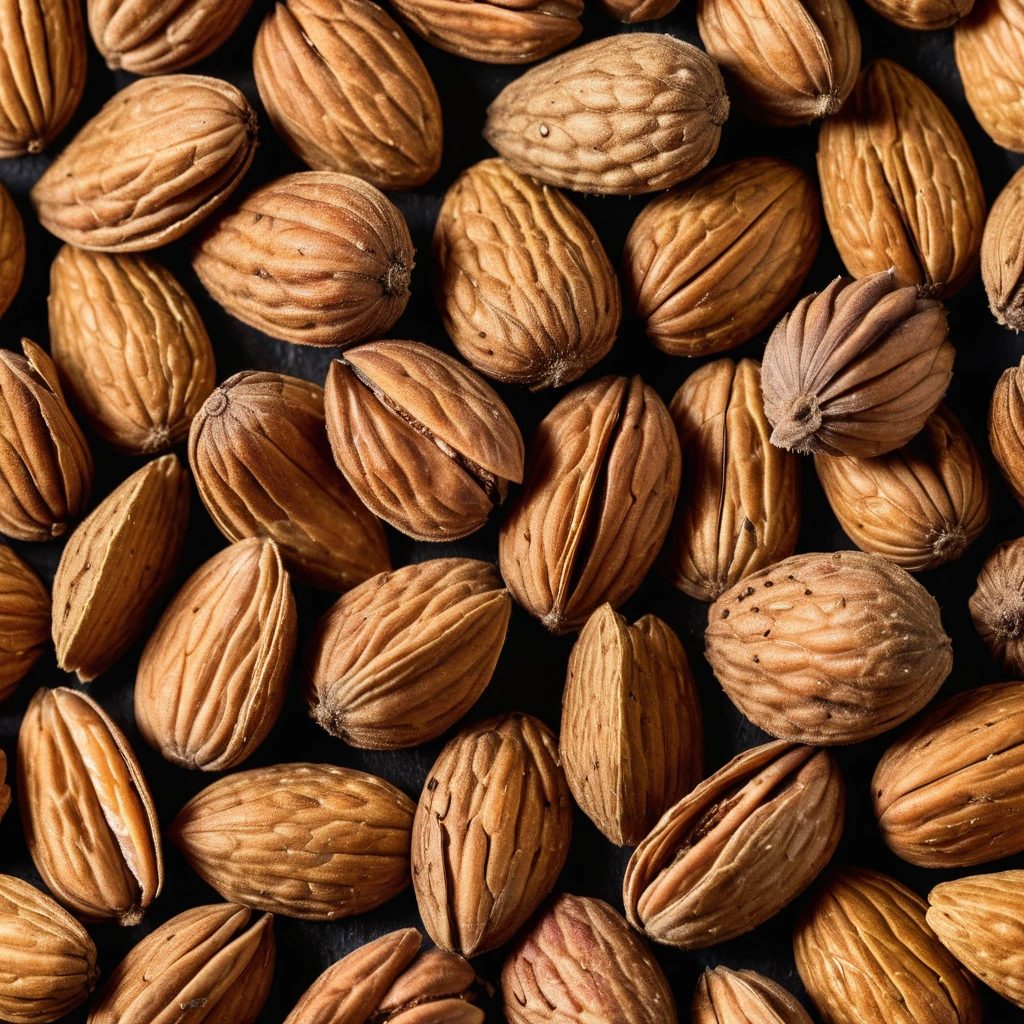
Almonds
With their golden-brown hue and delicate, edible skin, almonds are a crunchy delight. These versatile nuts boast a rich, buttery flavor that adds depth to both sweet and savory dishes.

Agave Nectar
A golden, velvety sweetener derived from the agave plant, offering a subtly sweet flavor with a smooth, syrup-like texture.
Recipes to try
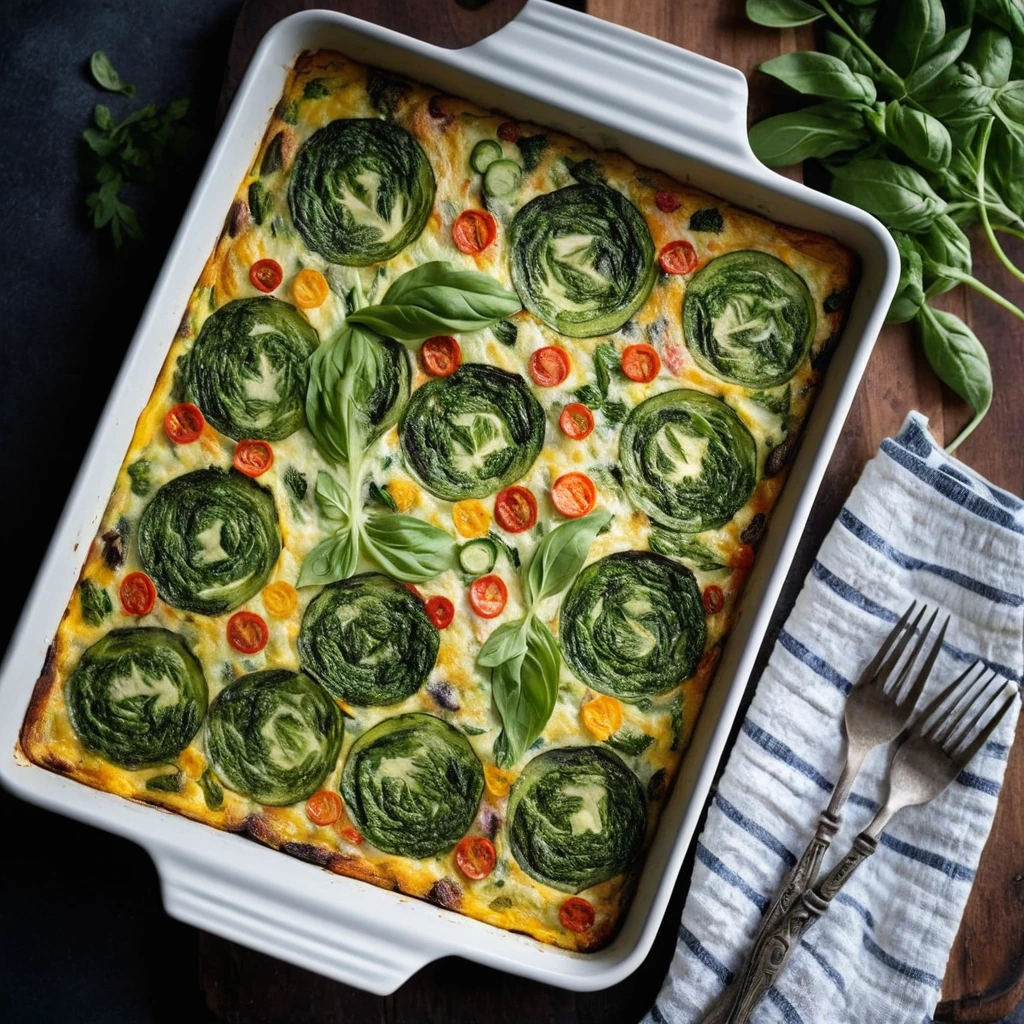
Veggie and Cheese Sheet Pan Frittata
Imagine a golden, bubbly frittata loaded with colorful veggies and melty cheese, all baked to perfection on a single sheet pan.
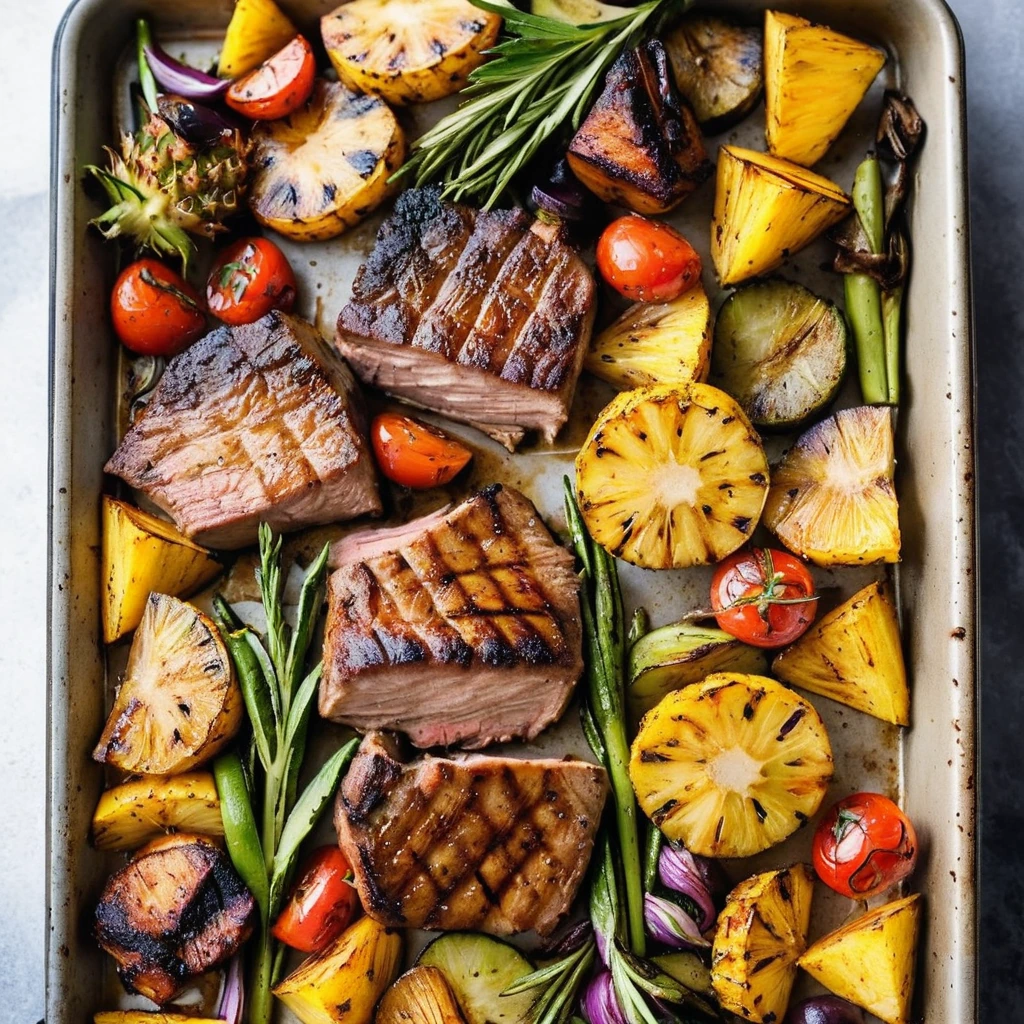
Pork and Pineapple BBQ Sheet Pan Supper
Sweet, tangy, and smoky flavors mingle in this fuss-free sheet pan supper that'll have you licking your plate clean.