Baking: Autolyse for Better Bread Dough
The autolyse technique is a simple yet transformative step in bread making that can elevate your homemade loaves to professional levels. It involves a short rest period for the flour and water before any other ingredients are added. This resting phase allows the flour to fully hydrate and the gluten to begin developing, resulting in a dough that is easier to handle, has better structure, and yields a more flavorful bread. The autolyse was popularized by French bread expert Raymond Calvel and has since become a staple in artisan bread baking. By understanding and implementing this technique, home bakers can improve the texture, volume, and overall quality of their bread. The process is straightforward, requiring minimal effort but offering maximum reward. In this guide, we'll delve into the autolyse method, explaining its benefits and how it enhances your bread baking. We'll walk you through the steps to ensure your dough gets the best possible start.
Notes
The autolyse works because it gives the flour time to fully hydrate, which kickstarts gluten formation without the interference of salt or yeast. This gentle approach leads to a more relaxed dough that is less likely to tear during shaping. Troubleshooting common mistakes involves ensuring your flour is fresh and your water is at room temperature to optimize hydration. Safety is not a concern with autolyse, but cleanliness is always key in bread making. As for make-ahead and storage, autolyse is a same-day process, but you can prepare your dough for a longer fermentation in the fridge after the autolyse is complete, enhancing flavor development further.
Steps
- 1 Weigh out your flour and water according to your recipe.
- 2 Combine the flour and water in a large mixing bowl.
- 3 Mix with a wooden spoon or your hands until no dry flour remains.
- 4 Ensure the mixture is uniform and shaggy.
- 5 Cover the bowl with plastic wrap or a damp kitchen towel.
- 6 Let the mixture rest at room temperature for 30 minutes to 2 hours.
- 7 After resting, check the dough; it should feel softer and more cohesive.
- 8 Proceed with adding salt, yeast, and any other ingredients.
- 9 Knead the dough according to your recipe's instructions.
- 10 Allow the dough to undergo its first fermentation.
- 11 Shape the dough and let it proof before baking.
Ingredients to explore

Almond Milk
Almond milk is a plant-based milk alternative made from ground almonds and water. Originating from traditional recipes in medieval Europe and the Middle East, it has gained widespread popularity in modern times as a dairy-free option. Almond milk has a subtly nutty flavor with a mild sweetness, and its aroma is reminiscent of fresh almonds. Its texture is smooth and creamy, though typically lighter than dairy milk. In cooking, almond milk behaves well in both savory and sweet applications, though it does not brown or caramelize like dairy milk. It is often used in cereals, smoothies, and baking, where its delicate flavor complements rather than overpowers other ingredients.

Agave Nectar
A golden, velvety sweetener derived from the agave plant, offering a subtly sweet flavor with a smooth, syrup-like texture.
Recipes to try
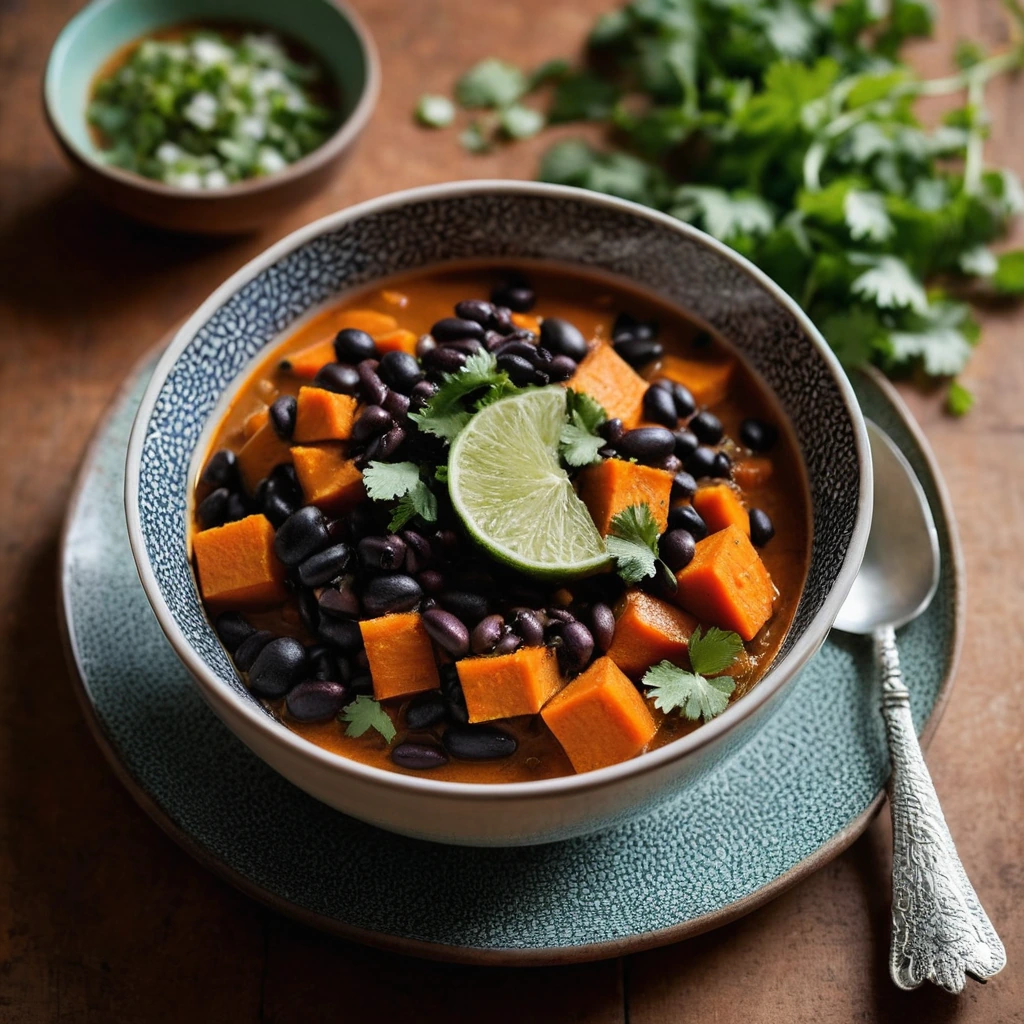
Smoky Sweet Potato and Black Bean Stew
Hearty and deeply flavorful, this stew is a comforting hug in a bowl with smoky spices and tender sweet potatoes.
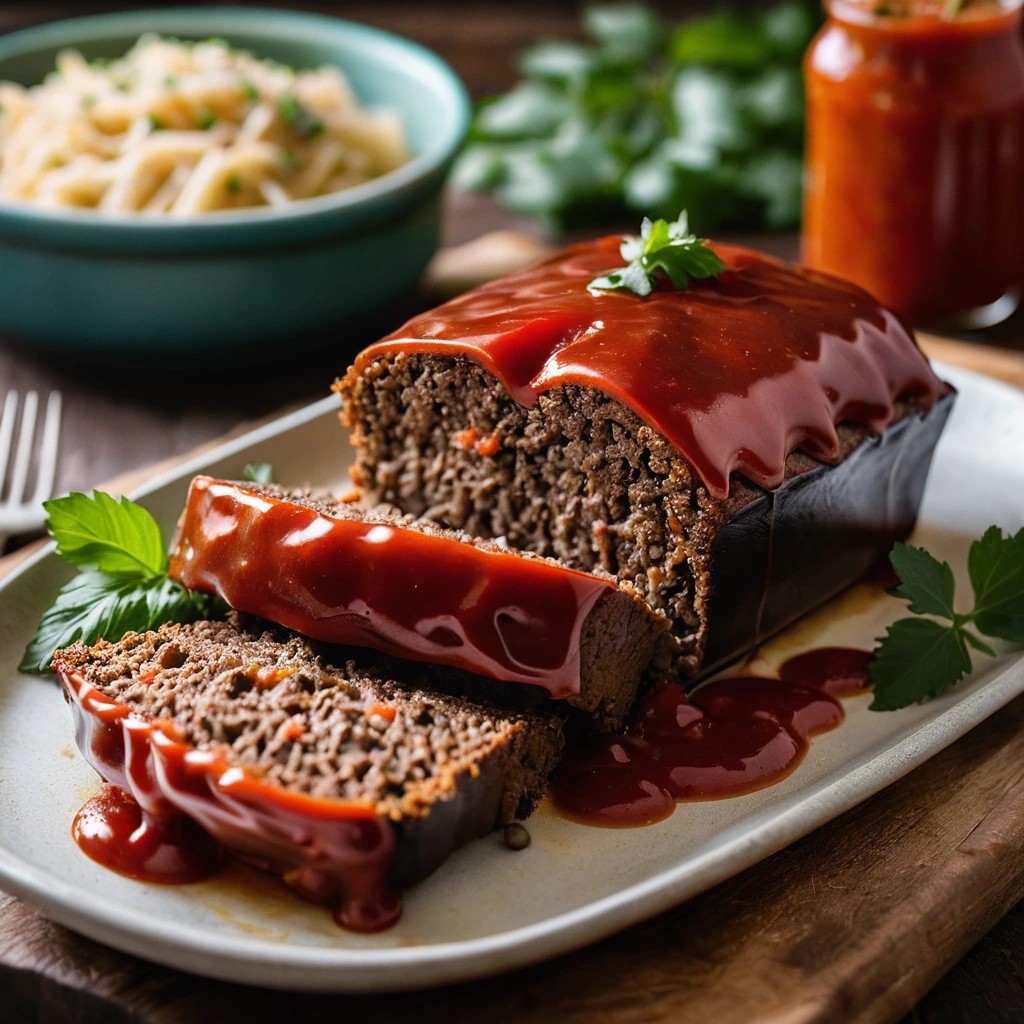
Pepper Jack Stuffed Meatloaf with Salsa Glaze
A savory meatloaf stuffed with gooey pepper jack cheese and topped with a tangy, zesty salsa glaze that'll have your taste buds doing a happy dance.